|
302 Swap |
|
|
Parts
|
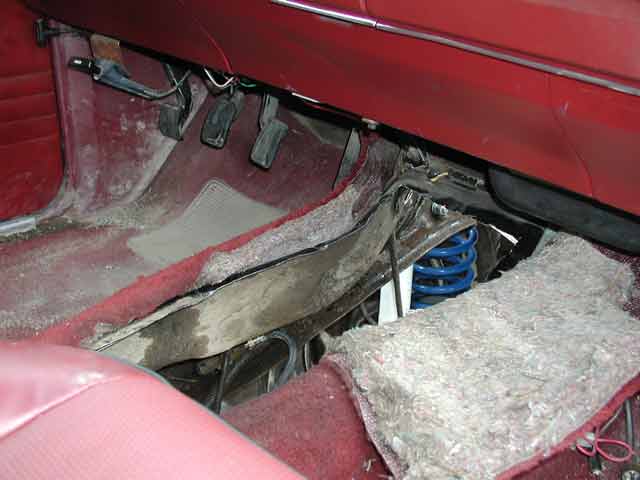
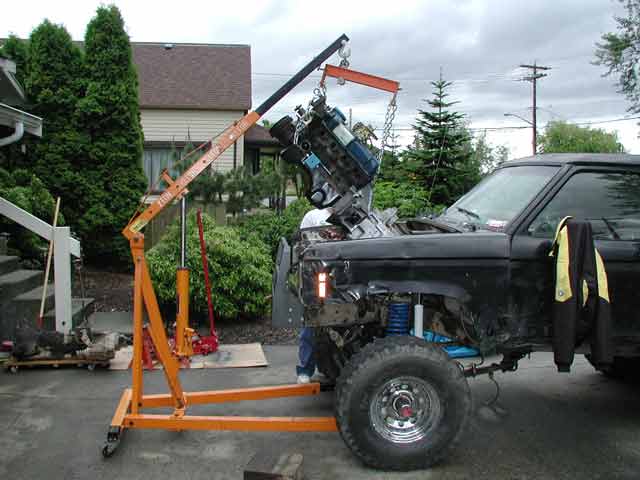
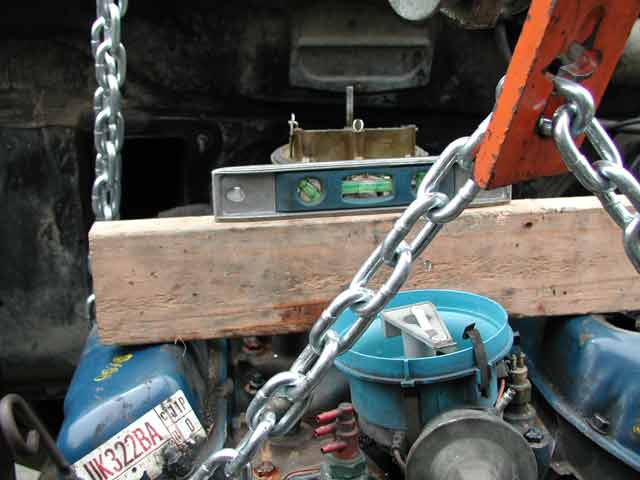
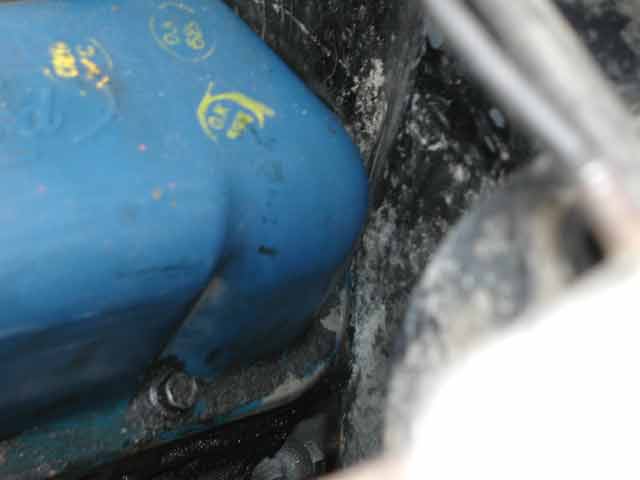
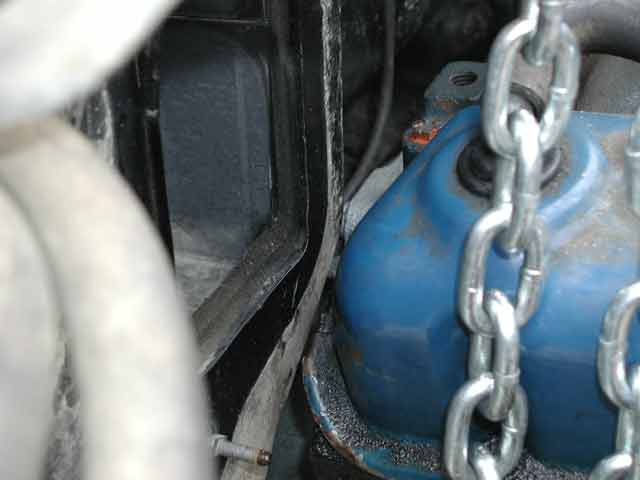
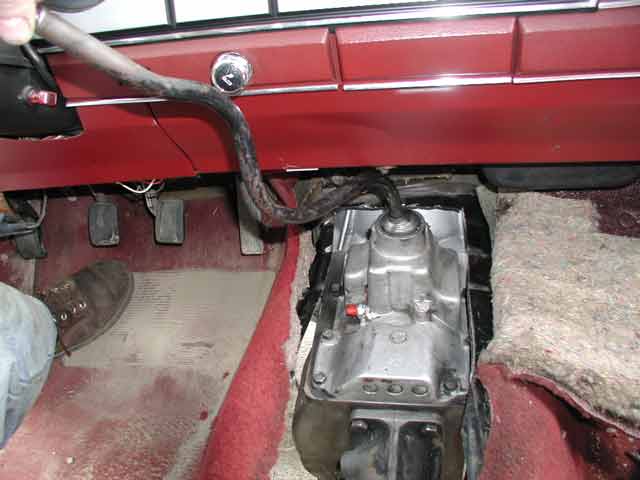 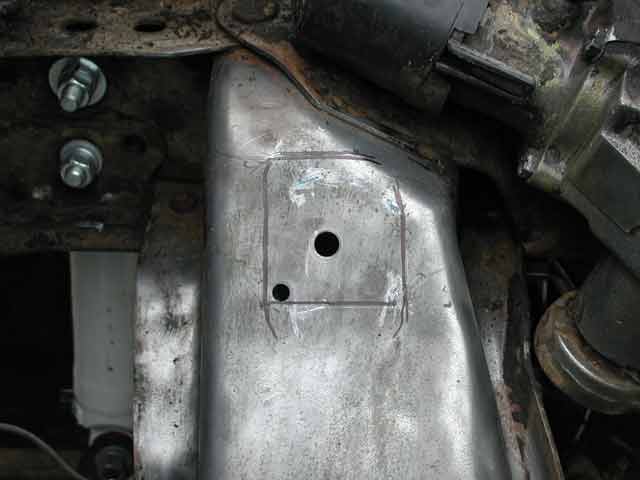
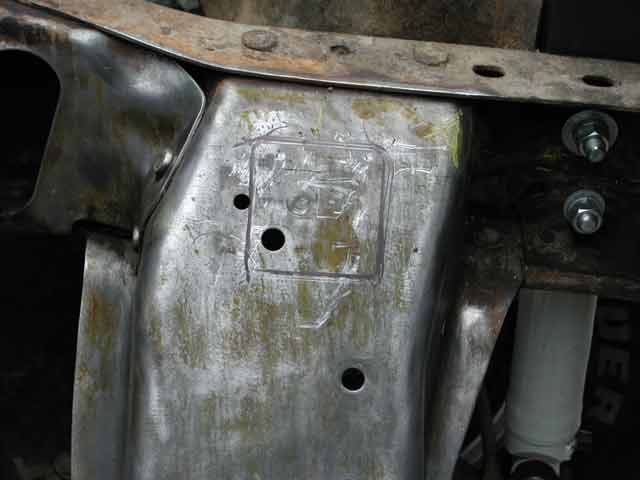
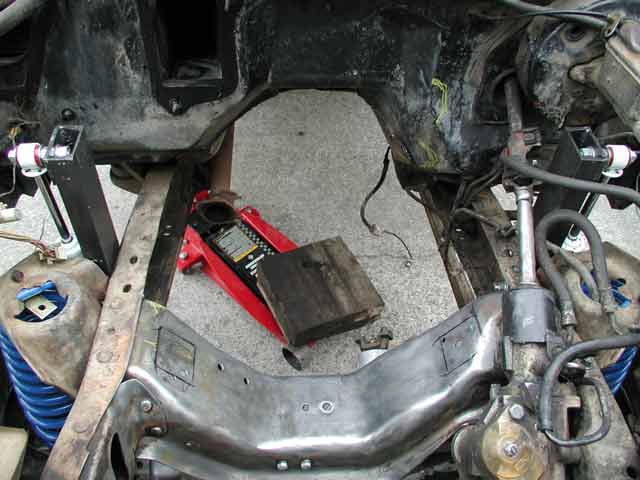
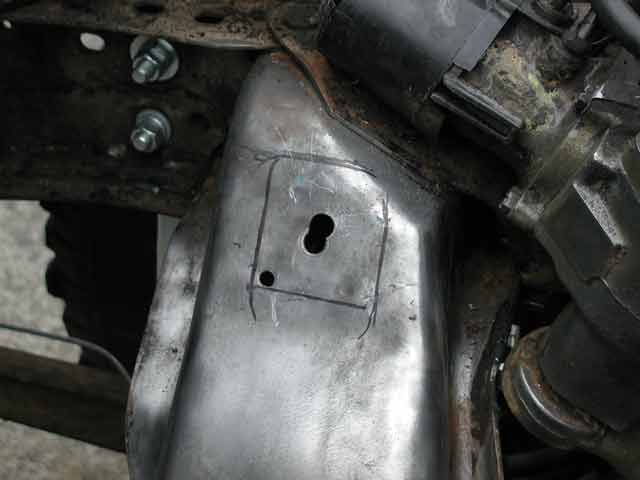 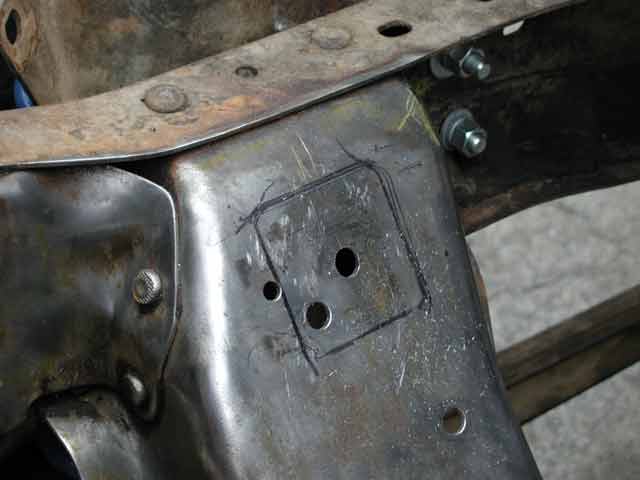
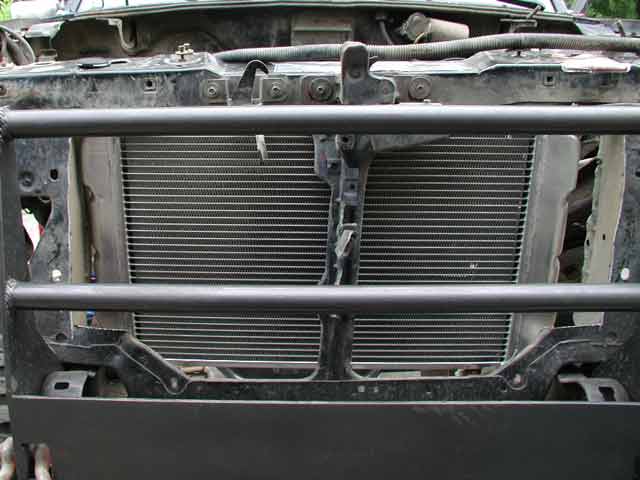
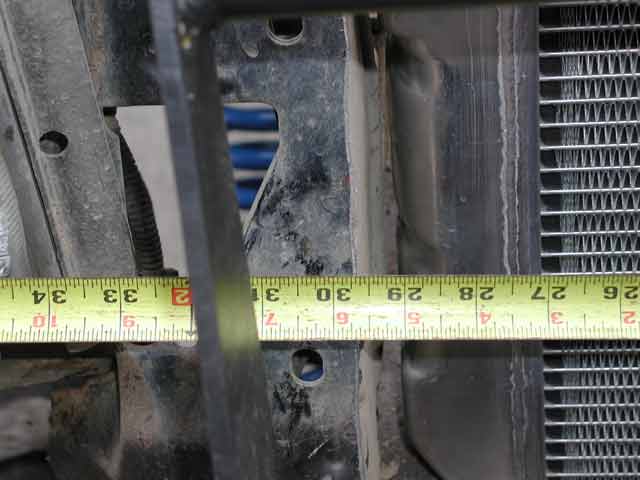
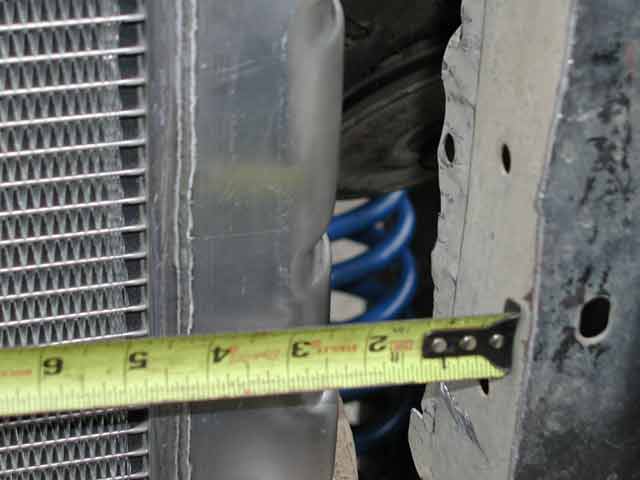
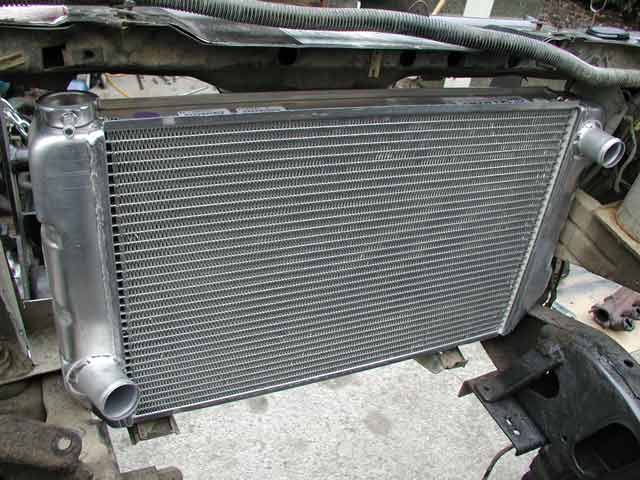
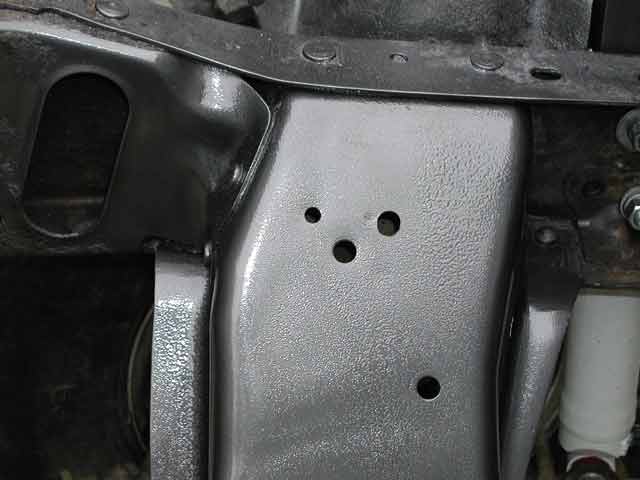
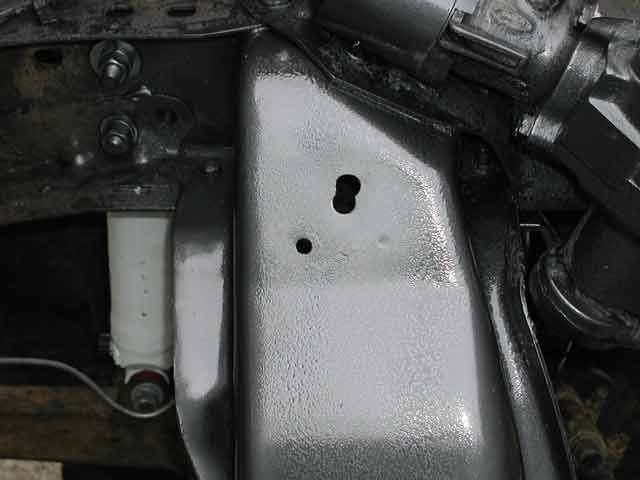 Day 2 - Saturday Used a wire wheel and cleaned up a bit. I wish I had more time to clean but ohh well.....it's all dirty now anyway. Cut a big ass hole in the floorboard for the tranny. The shifter on the NP435 barely clears the dash. The NP435 is a bitchen tranny, and I'm glad I used it. I folded the body seam over on the tranny tunnel. This may not have been needed. However, I wasn't building a show truck, so I did it just in case. Then I dropped in the engine for the first time. I installed the engine and tranny together as one unit. It was a tight fit, but with the leveler on the hoist, it was super easy..... 1 man job! With the engine in, it felt like I would be done with the swap in a couple hours! I supported the tranny with a jack. Pushed engine as far back as it would go. Checked that engine was level. Checked that tailshaft is centered....CHECKED THAT HEADERS FIT.... This is critical. The drivers side was a bit of a puzzle to get in, but I managed. I actually screwed up a bit. While making sure the headers fit, I forgot to check that the tailshaft was centered on last time. It's not far off, but it's irritating. This didn't seem to cause any vibrations. In fact... bronco II diffs are offset anyway. In fact a lot of cars come with compound angles on the drive shaft.... but still I could have avoided this with one last check! So anyway, once I was happy with the engine placement, I marked where I needed to drill holes for the engine mounts. I also marked a few places on the firewall that needed to be clearanced. Next I had to pull the engine again and dill holes for the mounts. The mounts require only one hole be drilled on each side. Unfortunately, on mine, the drivers side landed right next to the existing hole on the frame. I ended up with somewhat of a key hole.......Actually I think this is why the tailshaft came out offcenter. It was a pain in the ass to drill that hole. An 1/8" here could easily move the tailshaft 1/2-1" Threw some hammerite paint on things. Finally I gutted out the radiator support. The Griffin radiator isn't quite a perfect fit, but it's a bitchen radiator.....and cheap! Highly recommend it. For this swap I was more concerned with reliability than "looks". My plan is to build a new rad support, so the current setup in only temporary. I think that wraps up day 2. I'll surely be done tomorrow!!!!! ha ha ha ha |