|
|
|
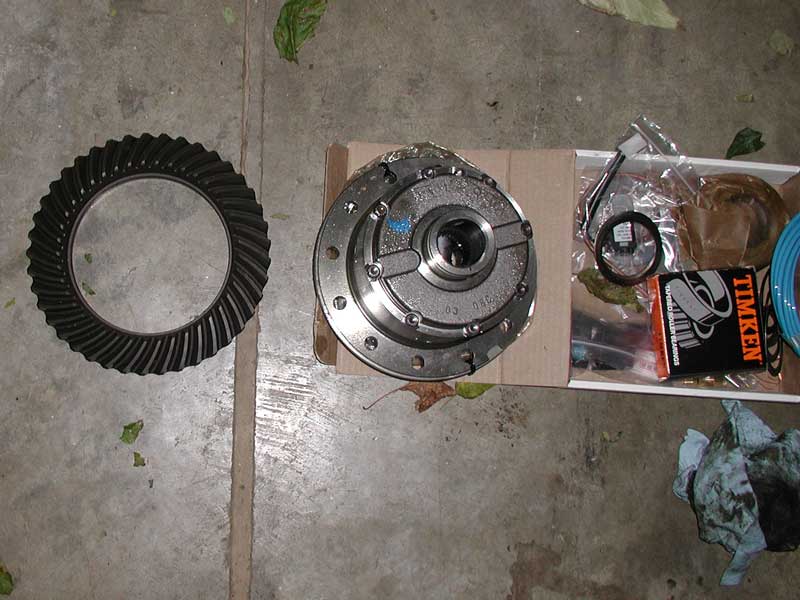 |
Now it's time to put the carrier together. |
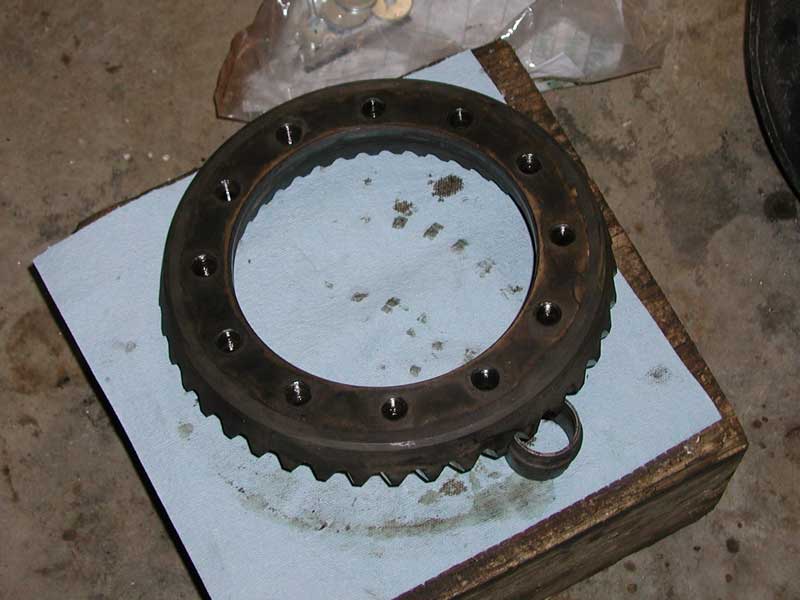 |
Be sure your ring gear is clean. Pay particular attention to the holes. |
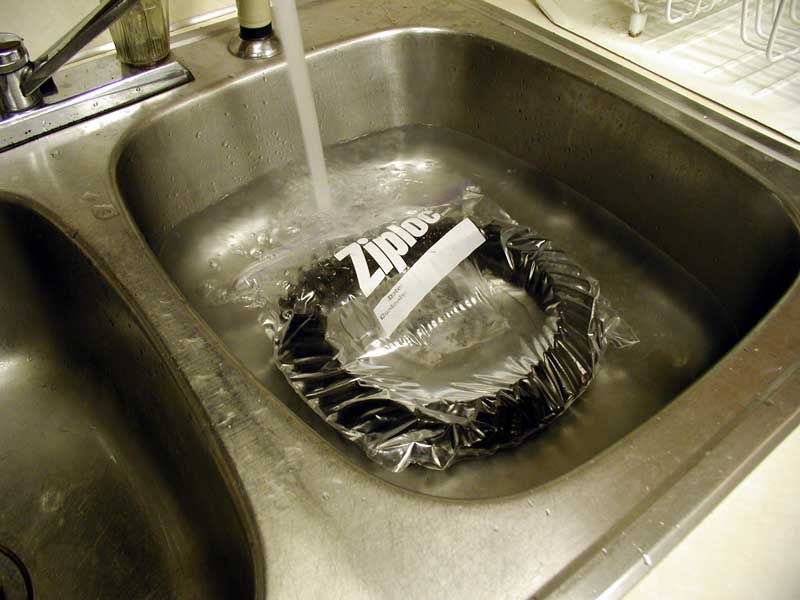 |
The best way to install the ring
gear is to heat it up. This makes the gear expand enough to easily slide
over the carrier. Make sure the 'ol lady isn't looking and drop that baby in the kitchen sink! |
 |
I was easily able to pull the
ring gear onto the carrier with my hands. DO NOT use the bolts to pull the
gear on. If you must, use a rubber mallet to help seat the gear. Apply a drop of red lock-tite to each bolt. Don't skip the lock-tite. It's ugly when these things come loose. |
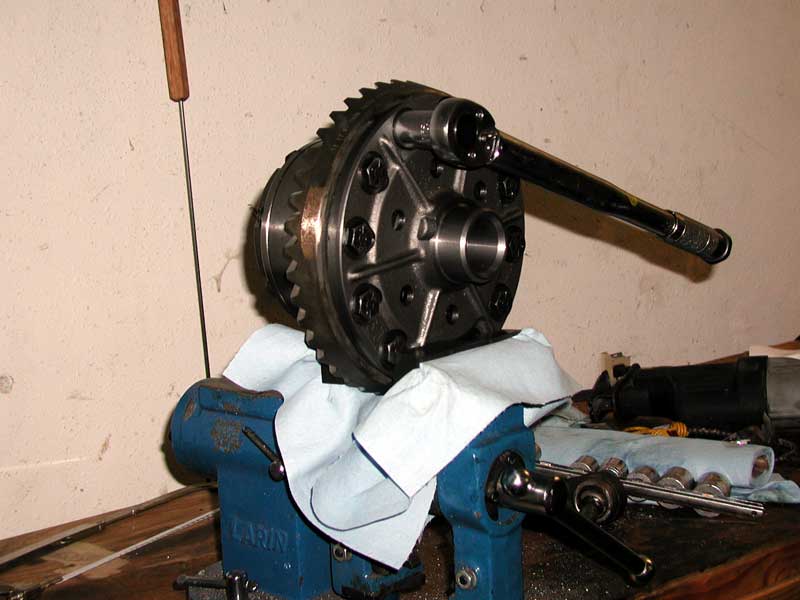 |
Torque the bolts to spec. Be sure to use good torque procedure by torqueing in increments and a star pattern. Dana 60 calls for 110 lbs/ft. Please use a torque wrench. This is not the time to guess. |
|
|
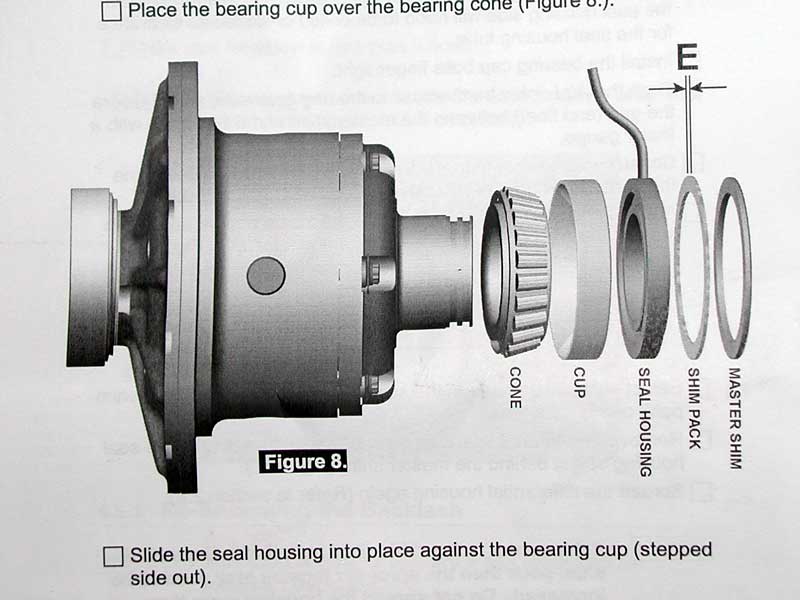
Installing the carrier shims is the second main step of gear setup. These shims are how you adjust backlash and preload. The ring gear side shims have the most significant impact on backlash. You have two options for determining your starting pack. You can do all the high speed measuring as shown in the Dana Service Manual, or you can just throw your old shims on there. If you are starting from scratch, then drop a few shims on see what happens. My old shim pack for the ring gear side was .040". So that's what I'll use. |
 |
Place the shims on the carrier
and press on the new bearing. I ripped the cage off an old bearing and used
the inner piece for an installer. Works perfect! Just firmly tap the the new
bearing on. Ensure it's fully seated. You could also use a press. I've been
told it's better to hammer them on, so you can feel when they are seated.
From my experience, I agree. Again, some people hone out a set of bearings so they are slip fit. Then install the new bearings on final assembly. |
 |
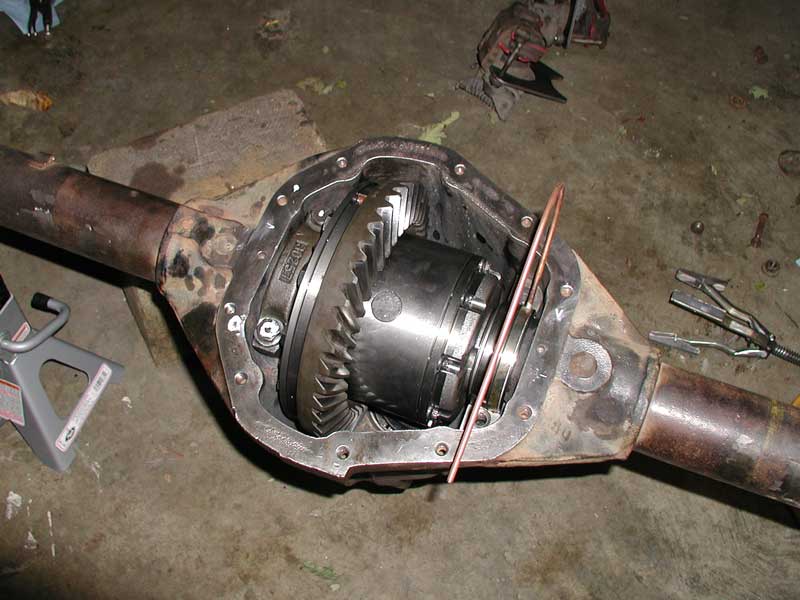
Before I went any farther, I
wanted to get a rough idea if my backlash is close or not. To do this, I
placed the carrier into the axle. Doing the best I could, I held the carrier
tight against the bearing race and rocked it back and forth while holding
the pinion! eh...third arm? Rule of thumb: |
 |
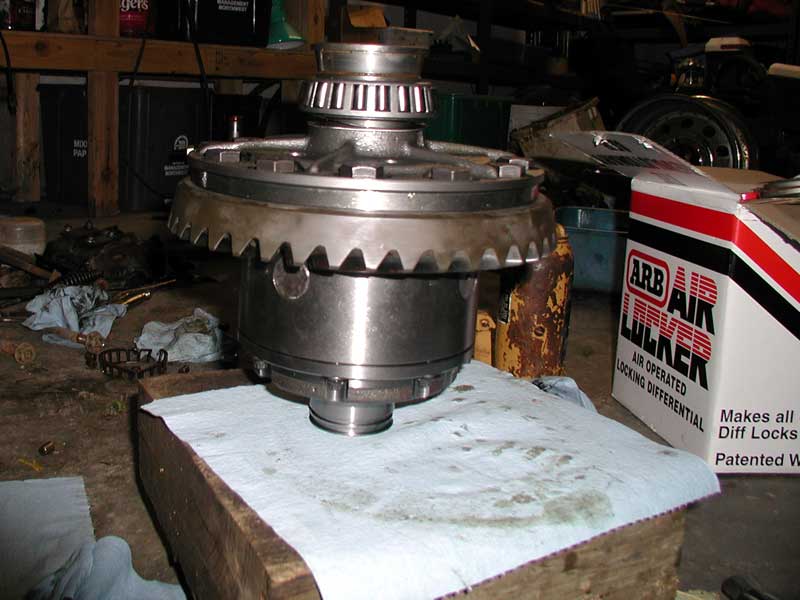
ARB's include a special carrier bearing for the side opposite the ring gear. Notice it's a bit smaller than normal. |
 |
Much to my surprise, you install
the ARB bearing with no shims. Otherwise, you would do some high speed
measuring, use your old shims, or just make a wild guess. My old shim pack
for this side was .038". The idea is to install enough shims to make the
carrier a very tight fit in the housing. This is what gives the bearings
preload.
If you can easily install/remove the carrier by hand, then you need to install more shims. Obviously if you can't get the carrier in the housing you would need to remove shims. I recommend making the carrier slightly loose during setup, then add extra shims for final assembly for preload. Keep in mind this will slightly affect backlash! This is where a case spreader comes in handy. A case spreader opens the housing up to an additional .020" to aid installing/removing the carrier. One bad thing about a spreader is there is risk of spreading the housing too far and ruining it. |
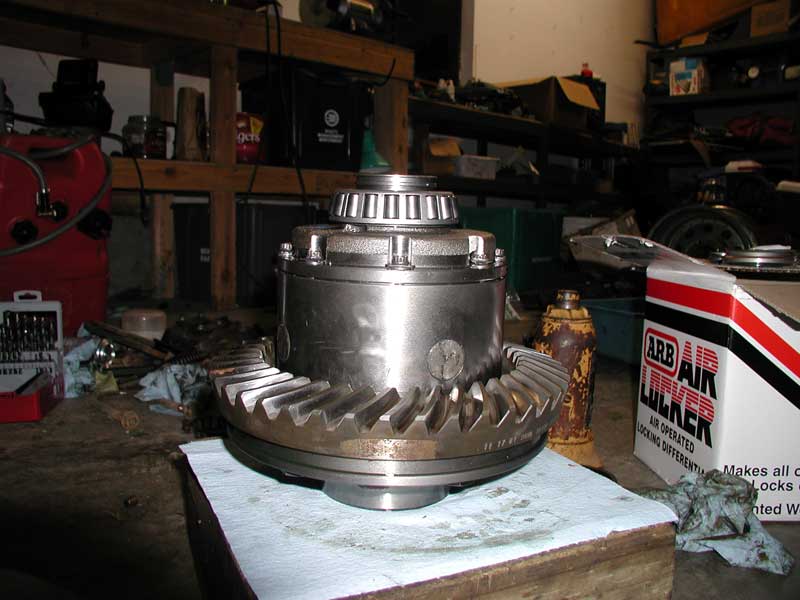 |
Bearing installed. |
 |
The whole ARB thing is pretty cool. Makes adjusting shims on this side effortless. Kinda like having a set of setup bearings. Too bad it wasn't on the backlash side! |
|
|
ARB Shims. I started with about .030" .........Hey! don't get ahead, ignore that yellow stuff! |
 |
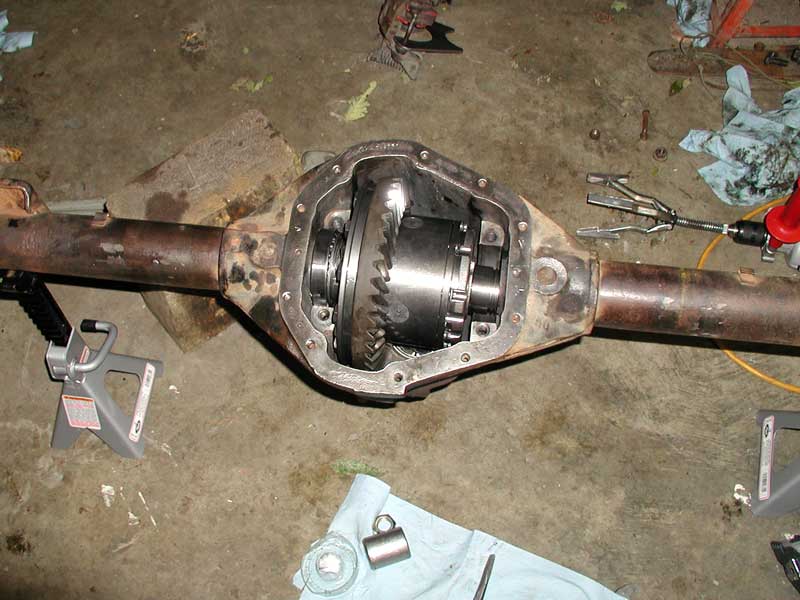
Install the carrier into the
housing, and tighten the bearing caps. Because of the ARB, I'm only using
one bearing cap at the moment. This is so cool! I'm almost done!.......... |
|
[NEXT] |
|
|
|