|
|
|
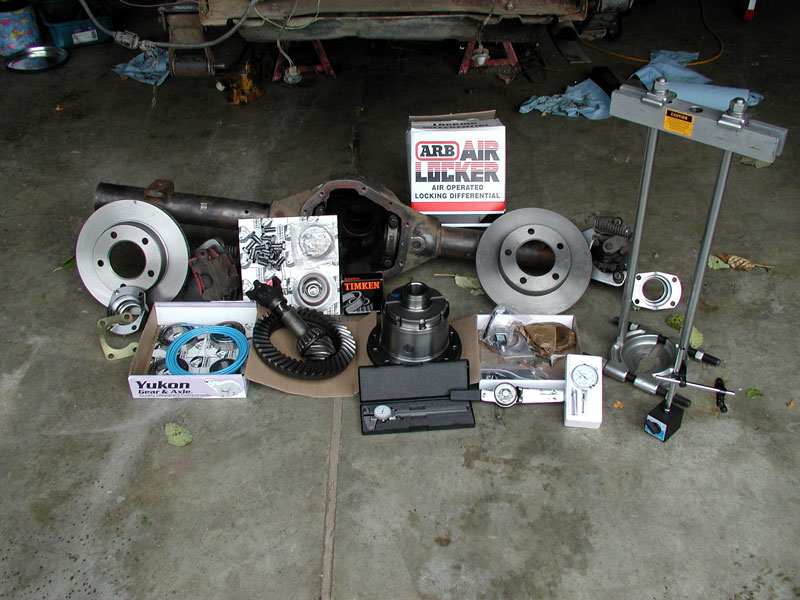 |
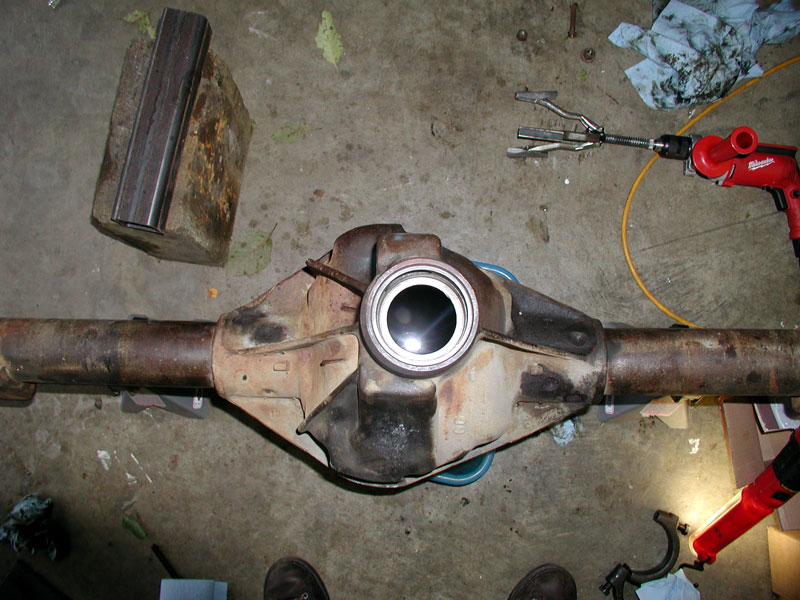
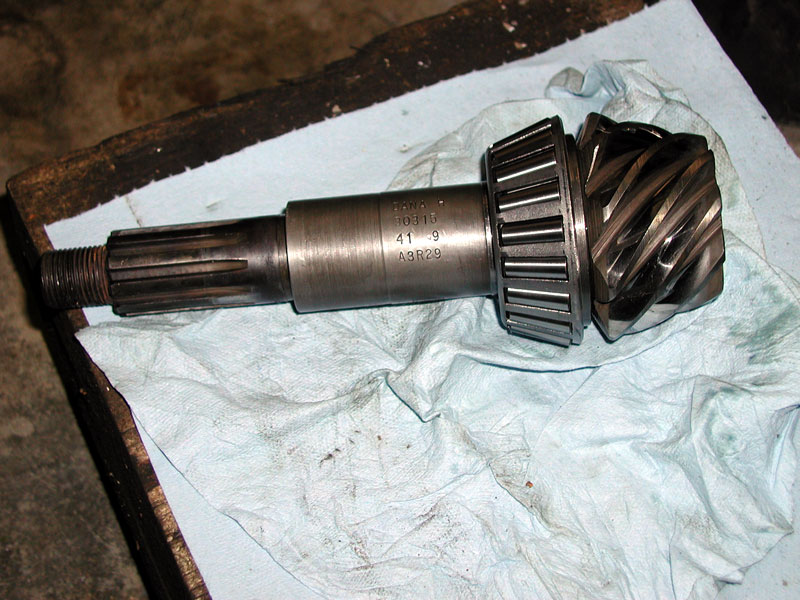
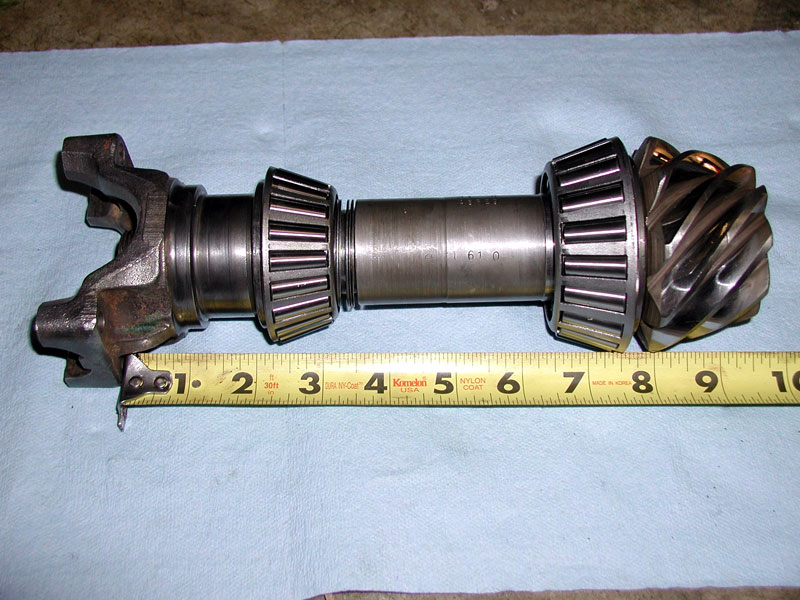
It's finally time to put my Dana 60 together. I've decided on a 35 spline ARB, compliments of Alex of Performance Offroad Centers(PORC), whom I found in the vender section of www.pirate4x4.com. I'll be using Ford 9" big bearing housing ends and 35 spline semi float 5 lug shafts. I'll also be adding disc brakes using CJ-5 rotors and El Dorado calipers with parking brake. Gears are a used set of 4.56. They are older gears with a course spline pinion. |
| I highly recommend reading
the
Dana Service Manual as well as the
Yukon Installation manual from www.ring-pinion.com Also check out my
Dana60-Teardown article. |
|
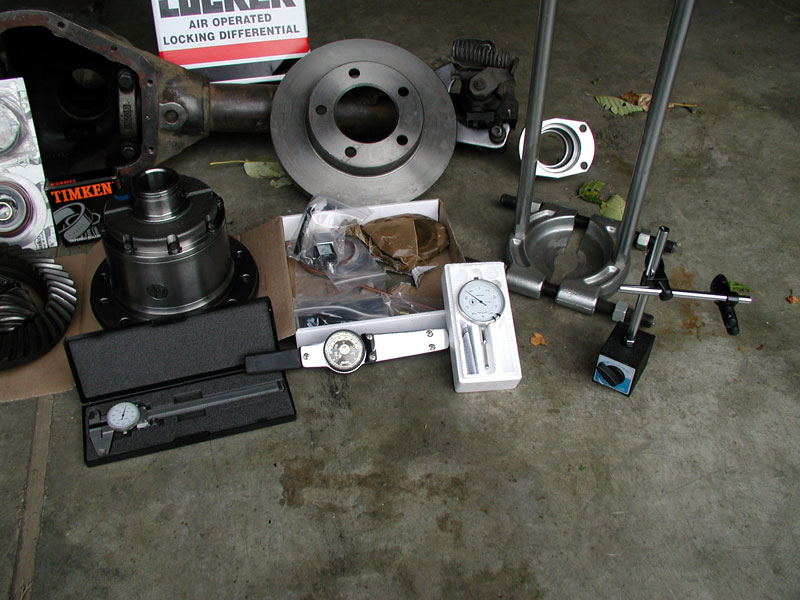 |
Some of the specialty tools required for gear
setup include: Bearing puller Inch pound torque wrench Foot pound torque wrench Dial caliper Dial indicator with magnetic base Pry bars Brass drift or bearing and race installers |
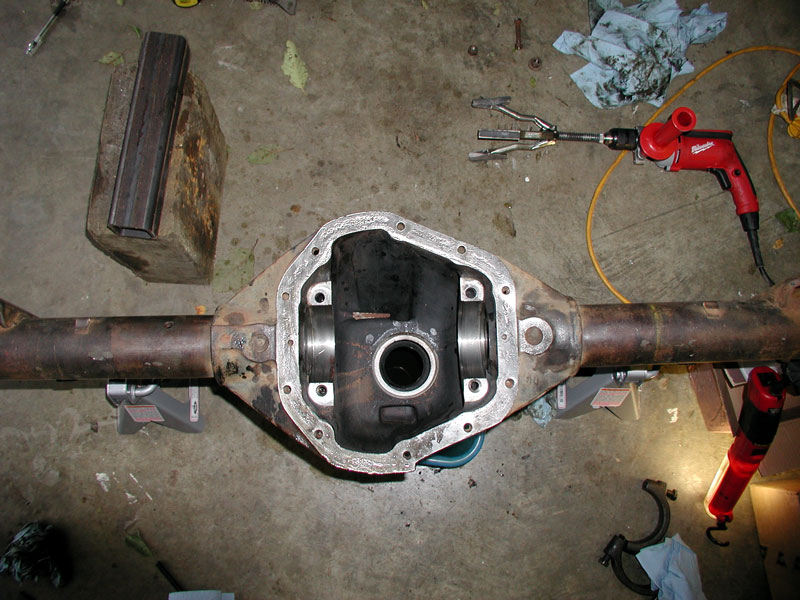 |
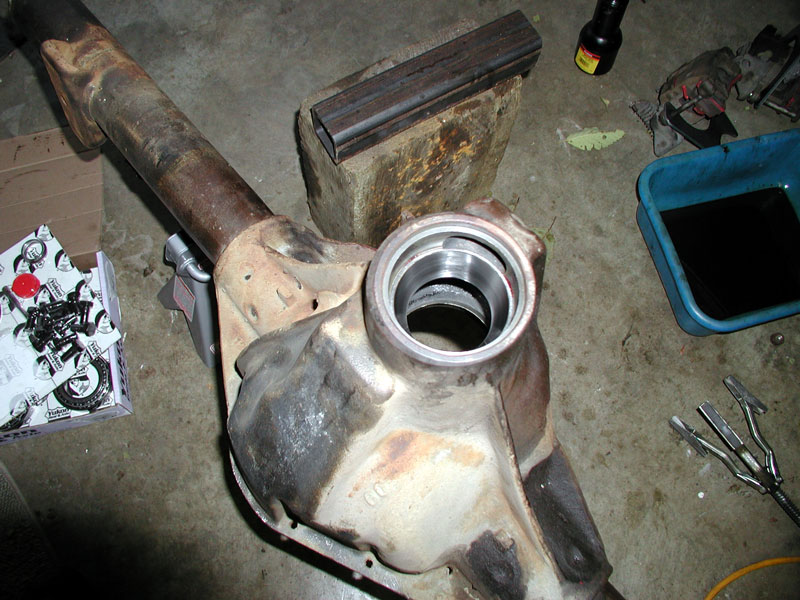
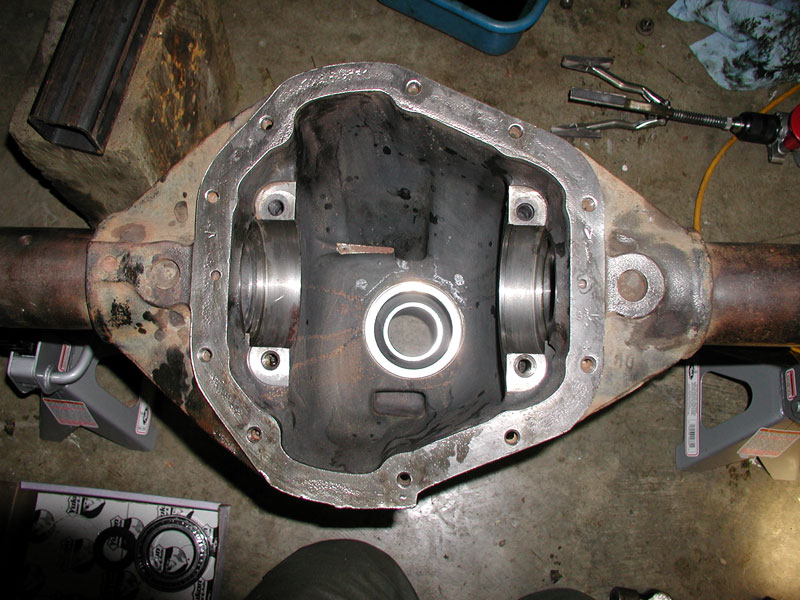
First things first. Clean the housing meticulously. I use a generous amount of brake cleaner. Make sure you clean the tubes too! Must be perfectly clean!!! |
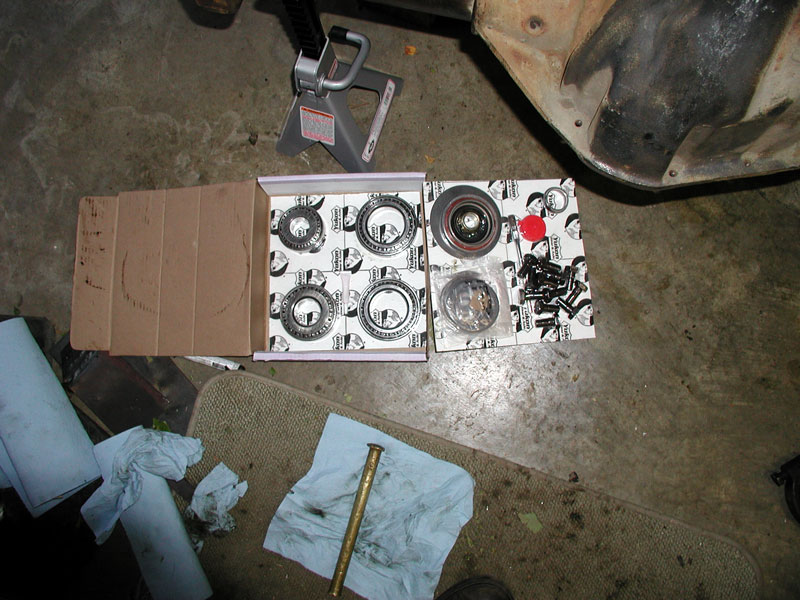 |
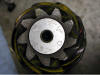
Timkin master install kit. Comes with all the bearings and shims needed to put this thing together. Timkin bearings are the top of the line. Don't settle for anything less. |
 |
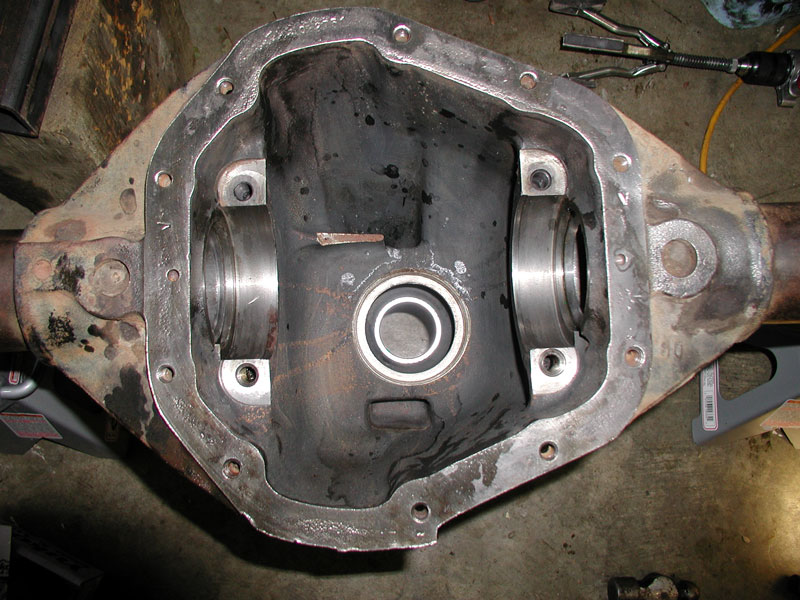
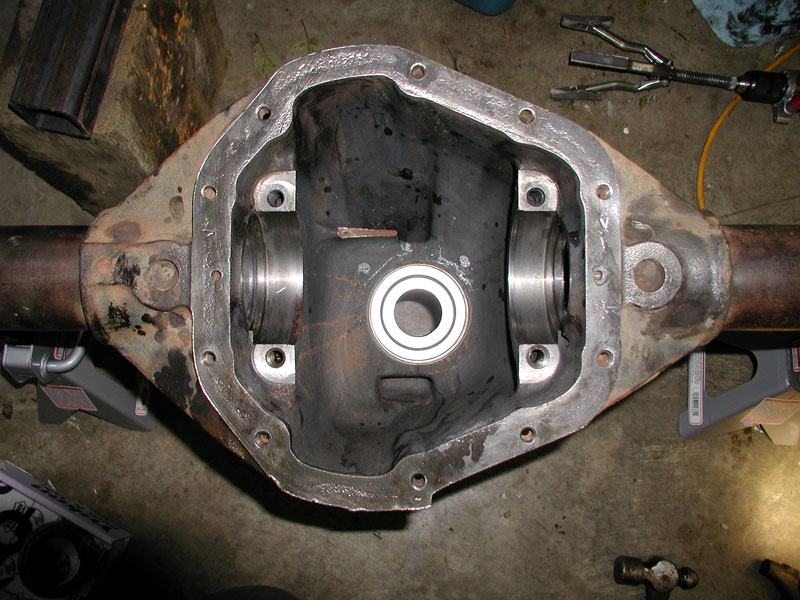
Now that the housing is clean we can install the first pinion bearing race. No shims are used under this bearing race. |
 |
Since this bearing race is going to stay put, apply a drop or two of red lock-tite and drive the bearing race in with a brass drift. You MUST use a brass drift to avoid damaging the bearing race. Make sure it's seated completely. |
 |
Next we'll install the inner pinion bearing race. This is the main part of gear setup.....behind this bearing race we'll place pinion depth shims. More shims moves the pinion closer to the ring gear, less shims moves the pinion away. Of course this means installing the bearing race, installing the pinion and carrier, then removing it all to adjust the amount of shims. We'll be good at it by the time we're done! |
 |
Included in the install kit is a baffle. It's .020" thick and is part of the pinion depth shim pack. I'm opting not to use this baffle and will compensate with more pinion shims. If you choose to use it, I recommend waiting until final assembly to install it. Otherwise you'll risk damaging it while adjusting the shim pack. The reason I'm not using it is because of the advice of a friend. The idea is at slower wheelin speeds the oil can flow freely through the pinion bearings. |
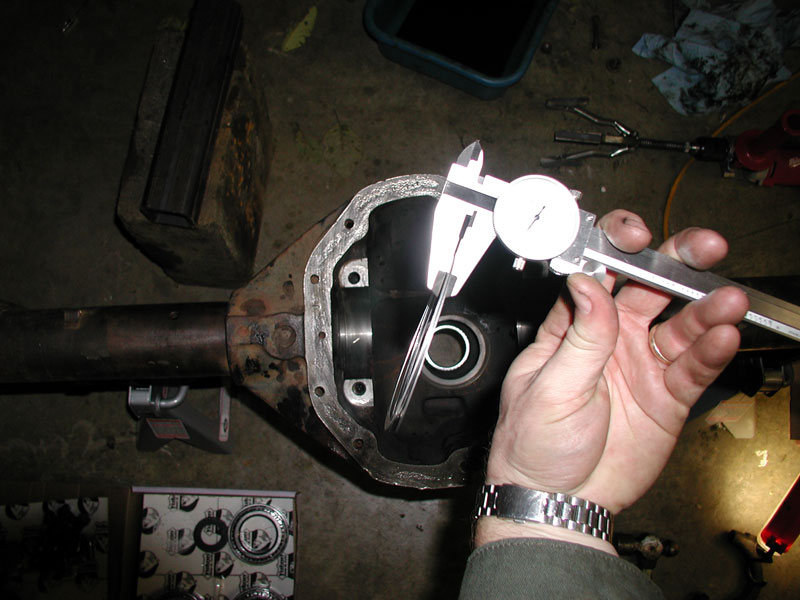 |
I couldn't find the original shim pack from the tear down, so I really have no idea where to start. This is where the pinion depth tool would come in handy, but it's not at all needed. We may just have to adjust the pinion depth shims a few more times. I heard .035" is a good place to start, plus the .020" from the baffle. So my starting pack is .054". Check out the Dana service manual for more on using a pinion depth tool. |
 |
More on setting pinion depth |
|
|
|
 |
Place the shims in the housing. I prefer to sandwich the thinner shims between the thicker ones. |
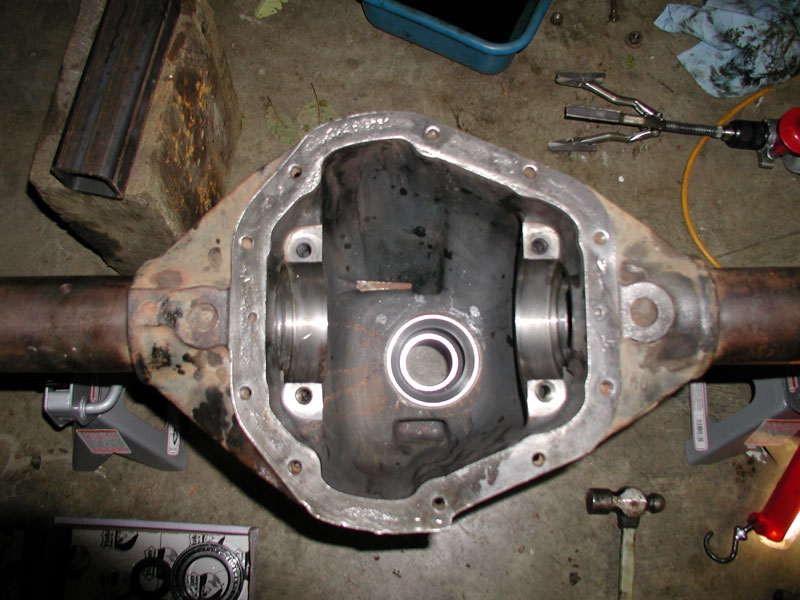 |
Again, drive the bearing race in with a brass drift. Ensure it's completely seated. No lock-tite until final assembly. People that do this a lot will often make a set of install bearings and races, where they are turned down for a slip fit. Makes setup quite a bit faster. Then for final assembly they use the new bearings and verify the pattern is correct. |
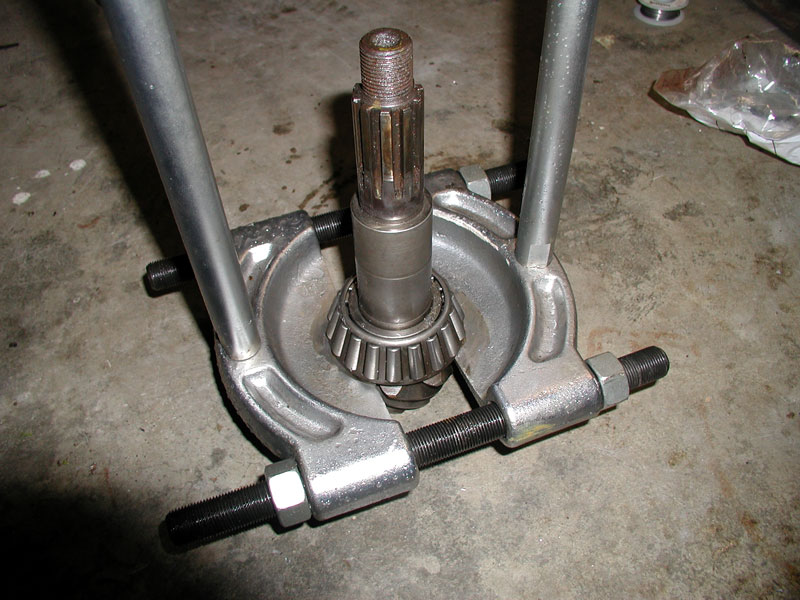 |
Now we need the pinion. But first we need to put the new bearing on. I'm using a used set of 4.56 gears. So first I have to remove the old pinion bearing. |
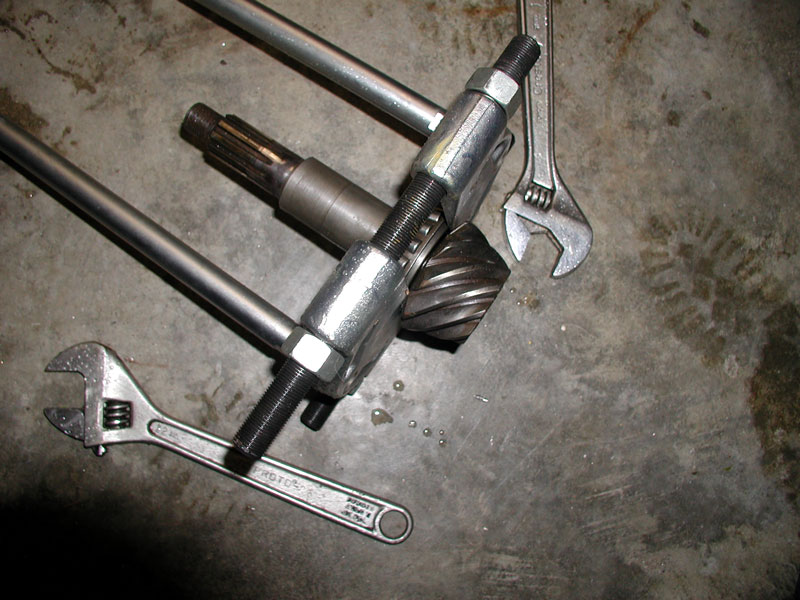 |
I'm using a bearing splitter. DO NOT pull on the bearing cage. Make sure the splitter bites in under the main part of the bearing. At all times you should be able to freely move the bearing cage. I had to grind on my splitter so it would clear the bearing cage. |
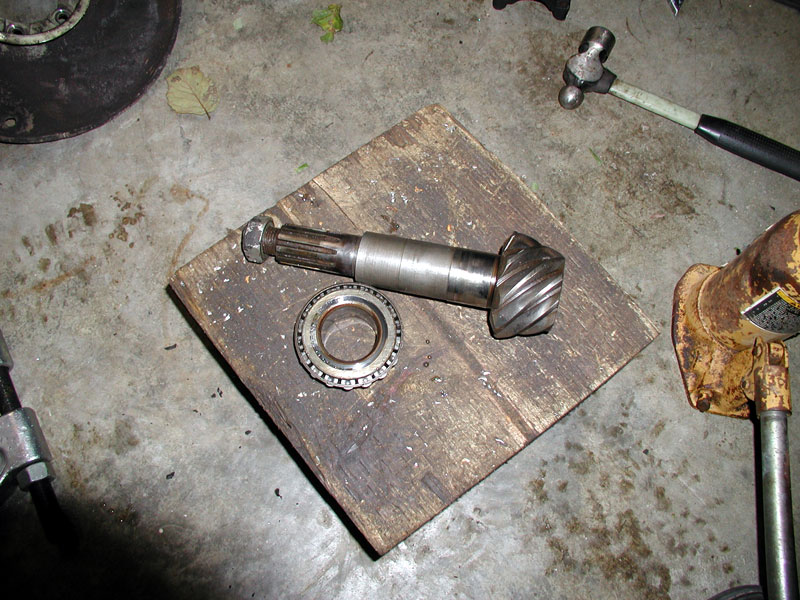 |
Old bearing removed. |
 |
Also included in the master install kit is an oil slinger. Again I'm opting not to use it, and if you'll notice there wasn't one there originally. But if you want to use it, this is where it would go. Keep in mind, the slinger will affect the pinion depth by .030". I didn't compensate for the slinger in my shim pack. I may have to though...... we'll find out soon enough. |
 |
Cleanliness is critical. I cleaned up the old crusty pinion with some brake cleaner and pressed on the new pinion bearing. |
 |
Now is a good time to take a
look at "Pinion bearing preload". Preload is nothing more than how
how tight the bearings are The tighter they are, the harder it will be to
turn the pinion. Very similar to adjusting wheel bearings. Pinion preload is adjusted with shims, or the
infamous "crush sleeve". in this case we're using shims. Although the master
kit included a crush sleeve. I'm not sure why? Crush sleeves suck because
they are a one time shot. If at all possible always use a crush sleeve
eliminator. Anyhow we adjust the preload with shims. Less shims will make the bearings tighter, and more shims will make them looser. At this point it's not critical to get the right amount of shims. To get a better understanding, start with a thick shim pack.....throw them all on there! Place the pinion in the housing, then slide the outer pinion bearing on, and then the yoke. With the yoke pressed all the way on, you'll notice the pinion will "float" back and forth....completely sloppy! So you need to remove shims until there is no more movement. Then remove another .005" or so. We'll fine tune this later. I think I mine was about .070" to start. |
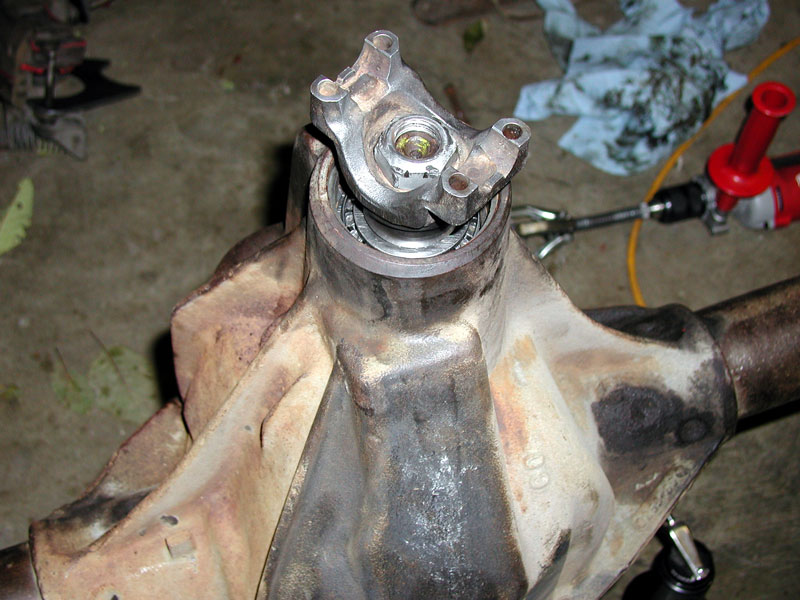 |
If you have an old pinion nut,
use it until final assembly. Go ahead and tighten it down nice and snug. The
pinion should move freely, but snug. If you really want, you can use your Inch pound torque wrench and fine tune the preload. Of course that would require torqueing the pinion nut to spec. No need for that now. Also when you change the pinion depth, the preload will need to be adjusted by an equal amount. So don't waste your time. As long as the pinion doesn't float back and forth, you're fine. Seems my socket is missing. I drove all over town looking for one, but pickings we're slim on a Sunday night. So this is where I'm stopping. Catcha later. I had to track down the snap-on man and buy a 1 5/16" socket. It needs to be a thin wall socket to clear the yoke. The man charged me about $30 ....grrrrrrr |
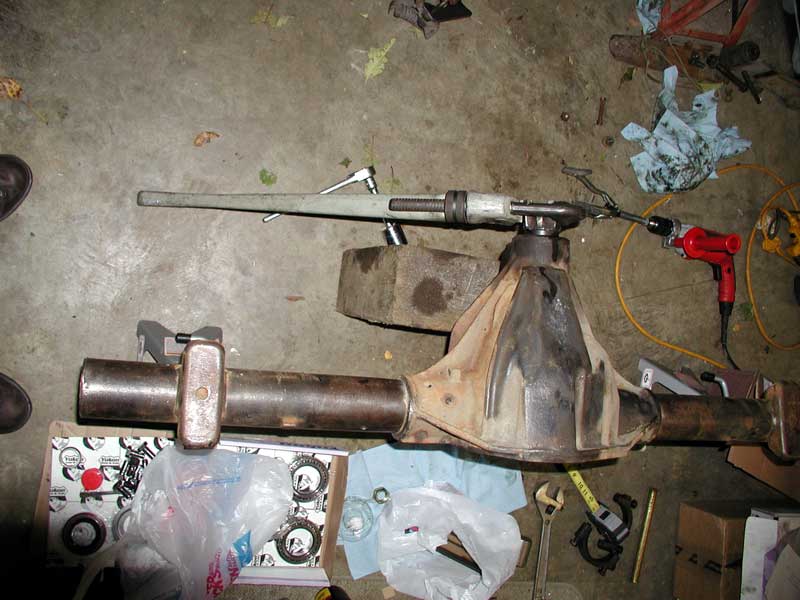 |
I have a large pipe wrench that I use to hold the yoke while tightening the pinion nut. Many use and impact gun, but I think doing it by hand is better, just because... |
 |
Almost done! |
|
[NEXT] |
|
|
|