Page 2 of 2
Posted: Wed Jul 19, 2006 10:25 pm
by FatMan
desrt_rat wrote:lookin good FatMan. don't you hate it when you screw up like that, no one to blame but yourself. sounds like its coming along pretty good though.
thank's for the complements dude. i hate messing up. the only reason is i have so much going on trying to make thing's happen for this weekend, plus it's been 105+ and hotter in the garage that it has just been getting to my brain...
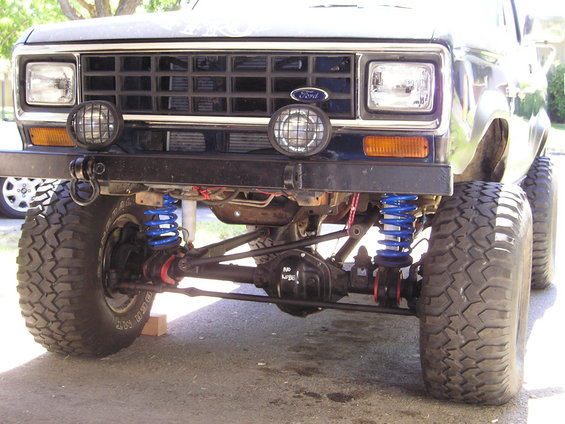
bailey wrote:Yeah - a picture update would be cool!
I'm all too familiar with the fubar. It gives some of my parts that "evolved" look.
How'd the reaming go (knuckles and pitman arm, that is)? I had done my Pitman first, and it was hard to ream and took some time. When it came time to do the knuckles I came very close to over-reaming cause I expected them to be the same.
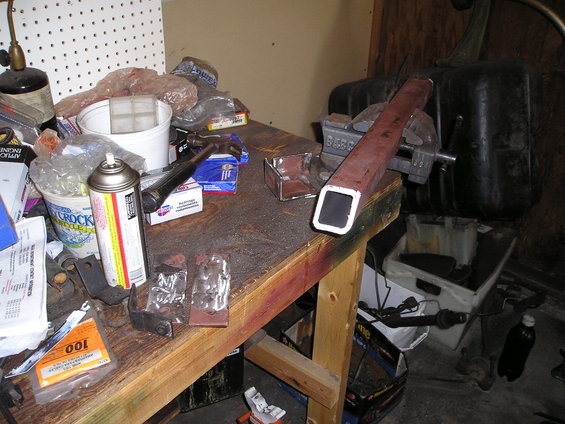
true,true, true... the reaming went suprisingly well. i reamed the knuckles first and it want fast. the pitman arm on the other hand was a pain. that thing must be made of some hard a$$ metal. it took a couple of hrs cuz i didn't want to heat up the reamer to much and weakin, break, or dull it.. i got it all done though. just hoping to have the tube threaded tomorrow.
Posted: Wed Jul 19, 2006 10:31 pm
by FatMan
Posted: Thu Jul 20, 2006 5:12 am
by DBrown
man, that is looking realy good!
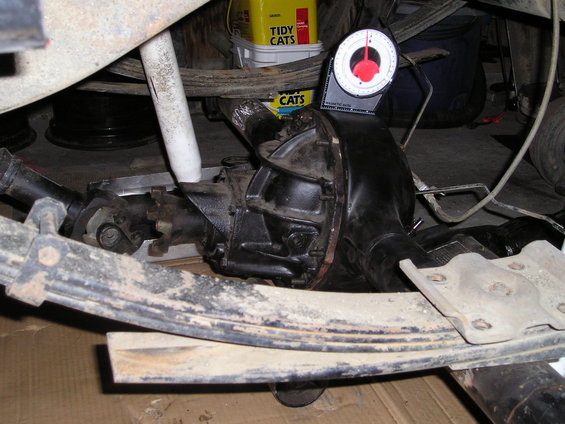
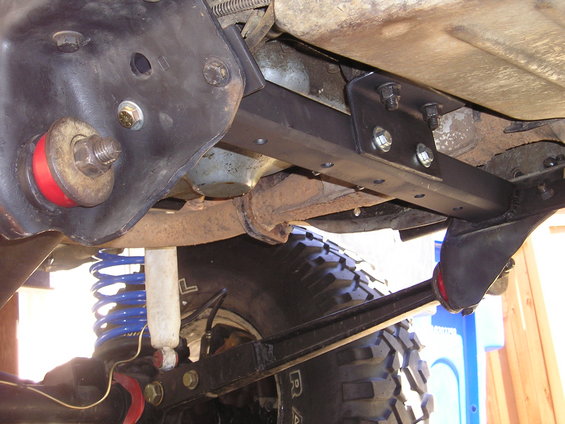
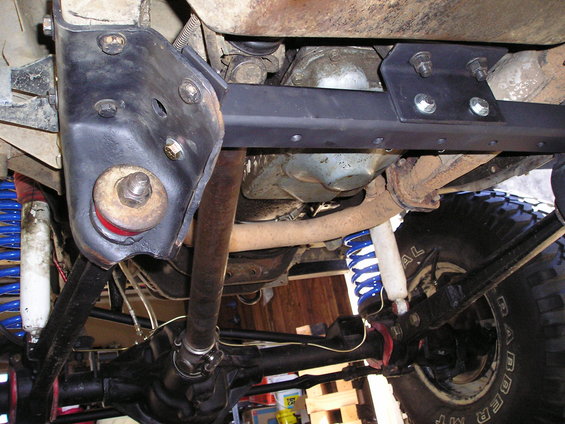
are you going to clearence the crossmember for the driveshaft any?
Posted: Thu Jul 20, 2006 8:54 pm
by Phillippi
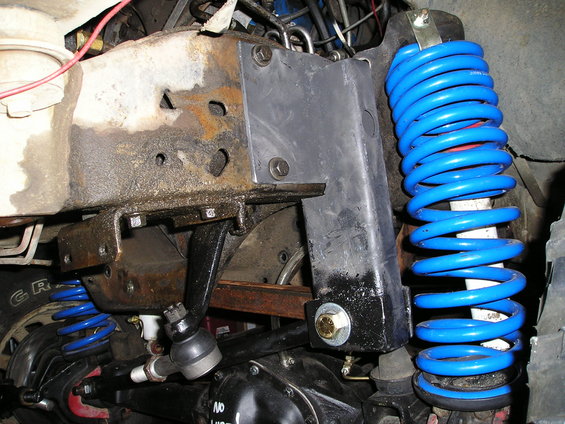
nice looking. I like what you did for the crossmember. Thats the idea I had as well.
Posted: Thu Jul 20, 2006 10:57 pm
by FatMan
DBrown wrote:are you going to clearence the crossmember for the driveshaft any?
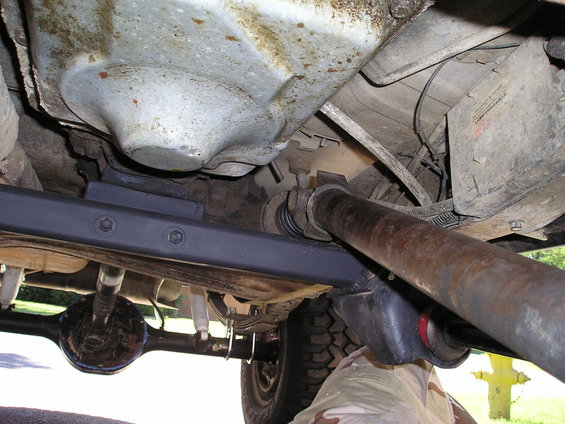
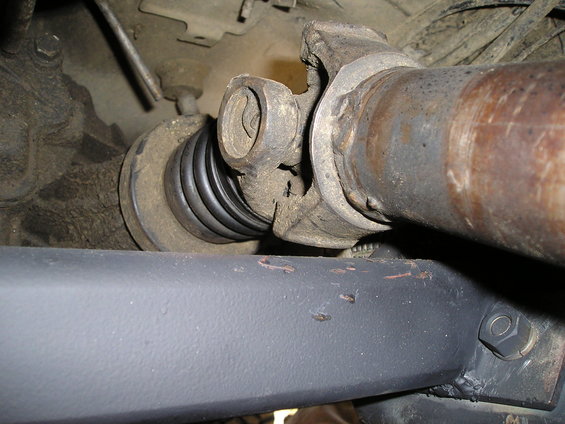
as soon as i get it out on the road im going to test the flex n the front with and with out the wristed arm... i cant seem to really get a good look at it while using a jack. when the drive shaft wasn't connected to the axle it got about 6" of drop with out hitting the crossmember im just worried about the slip yoke coming out...
Phillippi wrote:nice looking. I like what you did for the crossmember. Thats the idea I had as well.
thank's i got the idea from bailey his is similar i just used square tube instead.
Posted: Thu Jul 20, 2006 11:48 pm
by Phillippi
Will there be enough room for any movment in the d-shaft? It looks close to that crossmember.
Posted: Fri Jul 21, 2006 12:32 am
by FatMan
yeah it has plenty of room to move in and out theres not alot of trvel in the slip yoke anyway. the problem im intisipating is having to much drop which will force the slip yoke out or to much compression which will force the yoke into the t-case.
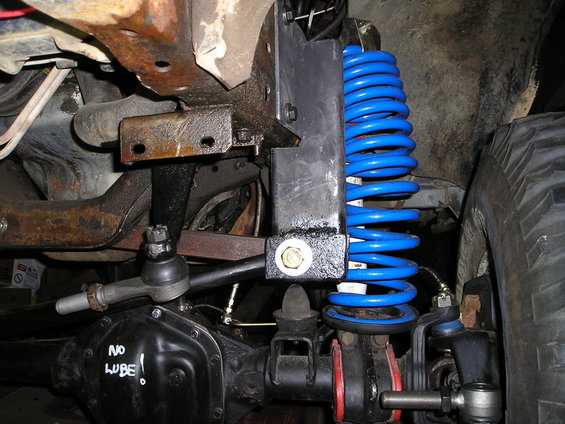
i wish there was a easier way to align the damn front axle but i think i got it close...
my steering is drag link 18 3/4" with 2 threads showing on each side and drag link 39 3/4 with 4 threads showing on each side..
Posted: Wed Jul 26, 2006 8:25 pm
by ranger5.0
Looks good!!!

Posted: Wed Jul 26, 2006 11:43 pm
by Rockcrawler
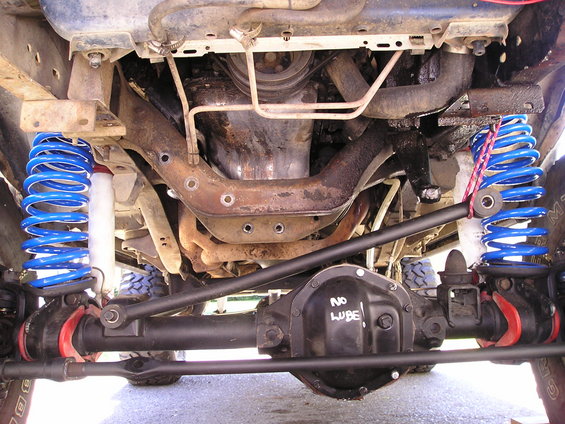
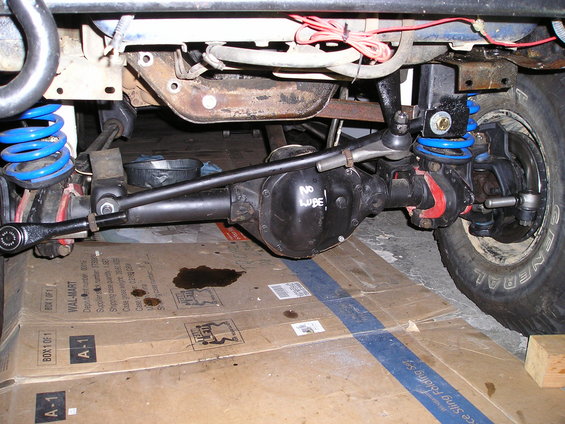
i love the no lube writing! now thats just smart!
Posted: Thu Jul 27, 2006 6:54 pm
by tekatlarge
FatMan wrote:yeah it has plenty of room to move in and out theres not alot of trvel in the slip yoke anyway. the problem im intisipating is having to much drop which will force the slip yoke out or to much compression which will force the yoke into the t-case.
i wish there was a easier way to align the damn front axle but i think i got it close...
my steering is drag link 18 3/4" with 2 threads showing on each side and drag link 39 3/4 with 4 threads showing on each side..
Fat man,
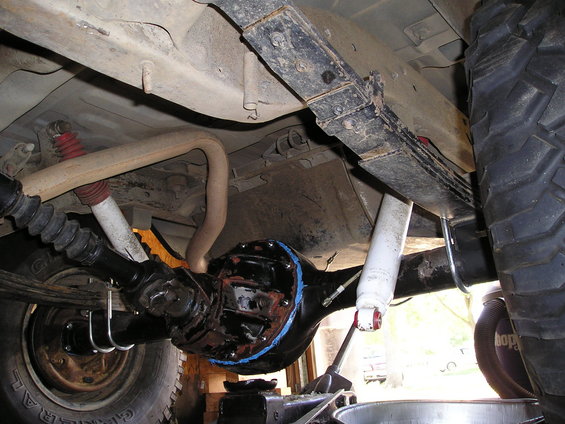
It looks Kool.. I would like to suggest you raise the axle side of your PanHard bar. They work thew best when it is parallel to the axle centerline.. Other than that It looks Good.
Ok now for a red neck wheel alignment. Get a couple of 2x2's about 4 feet long, and A roll of 100Mph Tape. Hold the 2x2's against the tire while you slather it with plenty of 100Mph tape. The key is to make the 2x2's extend about a foot out past the surface of the tire from the front of the tire to the rear. Level the 2x2's front to back. Now you can do the cross measurement to get the tires straight with each other. Once done set your toe in or out by measuring the difference between the front and back.
Now if you understood that your well on your way. Where I don't know. hahaha. If you are still interested in this method and can't figure out what I was sayin just send me a pm and I will try and explain further.
Posted: Fri Jul 28, 2006 10:42 am
by desrt_rat
thats pretty sad, i understood every word of it, does that make me a redneck?

Posted: Fri Jul 28, 2006 1:21 pm
by FatMan

no lube was just a reminder but i got lazy and didn't take it off after i filled the diff.
tek thank's i understand all of what yo said but how would i check camber?
Posted: Fri Jul 28, 2006 5:56 pm
by tekatlarge
I am not sure how it is measured on your axles but the same tool (protractor level)is used.
Jack up the front & take the wheels off but put jack stands under the axle so as to keep the vehicle at ride height.. Use the protractor level and measure vertically right through the middle of the spindle. There may be a straight edge or something you can use as a reference. Set your caster acordingly.
For camber I don't know how yours is adjusted but I would use my protractor level on the face of the brake drum or rotor. A quick bit of math and your set... It all can be done with minimal tools and the best tool is that protractor level...
Now for all of those people out there that understood the first part